My Colouring Process: From Blank Page to Finished Artwork
I may get a small commission from purchases made after clicking links in this article. Have you ever looked at
I may earn a commission from any purchases you make once you follow links in this guide.
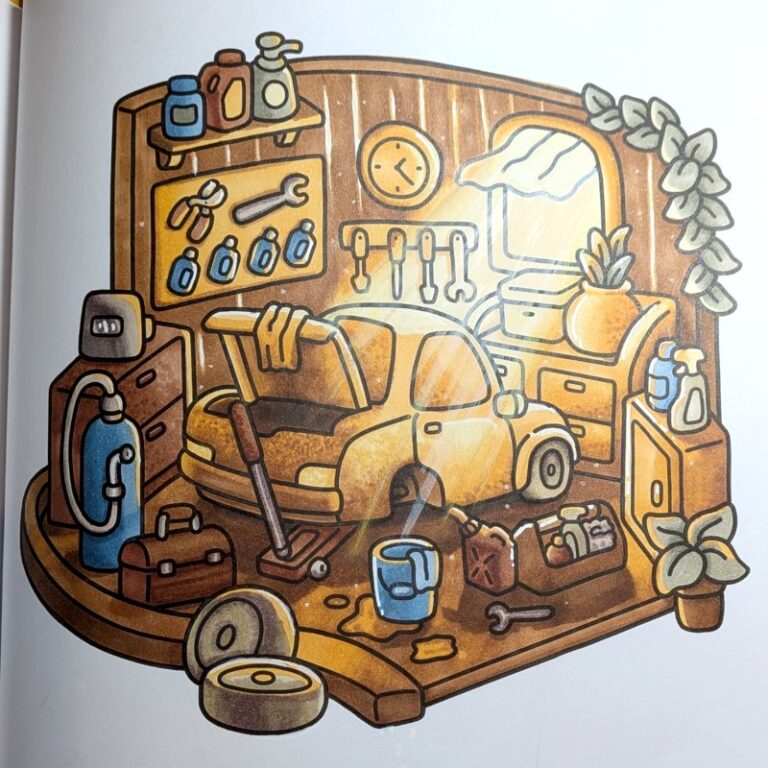
Sunrays can completely transform a colouring page, adding warmth, depth and atmosphere to your finished pages. Learning how to blend soft rays of light is a great technique to have in your colouring toolkit. But they can be tricky, (and intimidating to colour over your page) to get right!
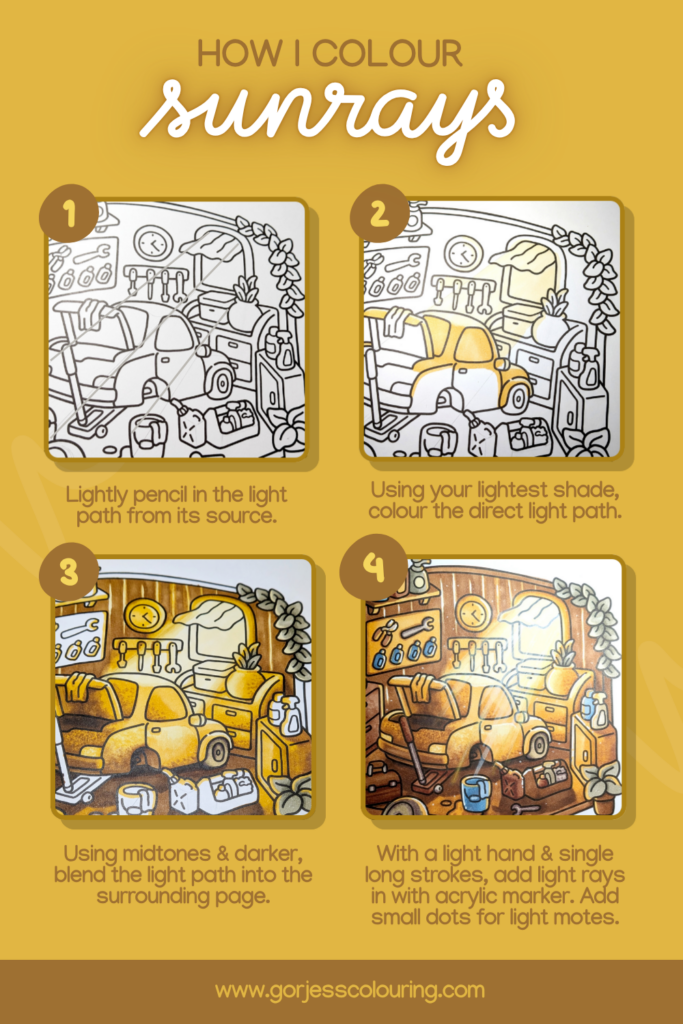
In this tutorial, I’ll show you how I colour sunrays from a window with alcohol markers, acrylic markers and pencils in a simple five-step process. However, if you find a better way, or tweak my process, go for it! Play around and have fun. I strongly recommend you practice the technique first either on a page that you don’t care too much about, or blank marker paper.
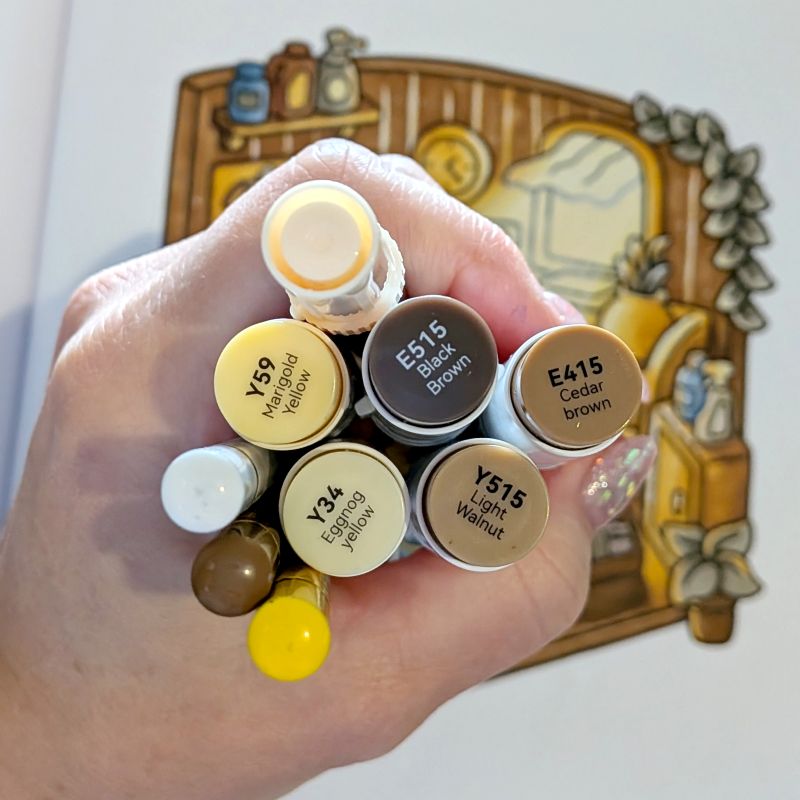
Diffuse light from a window adds a lovely cosy feel to pages. To keep things simple, choose a page with one window (or door, crack in a wall, tree hollow etc.) to be your light source.
From this light source, lightly trace with pencil the path light will travel across the page. At this stage don’t worry too much about where the light will be blocked or shadows, but if there is a clear object blocking the light from progressing, stop there on your page.
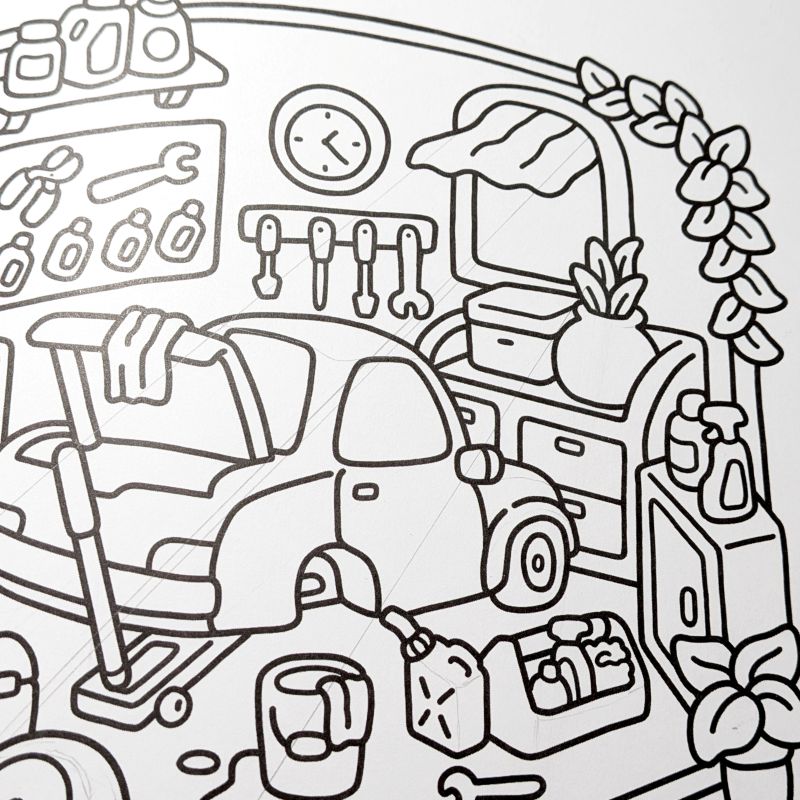
Taking care to remain within the penciled lines, colour the light path with your lightest colour. This is where you should start to think about where the sunlight will be blocked or darkened by objects. Objects in the direct light path (e.g. the car roof, top of the boot (trunk)) should be lightest, followed by those objects next to, but maybe facing away from the direct light (e.g. the side of the car).
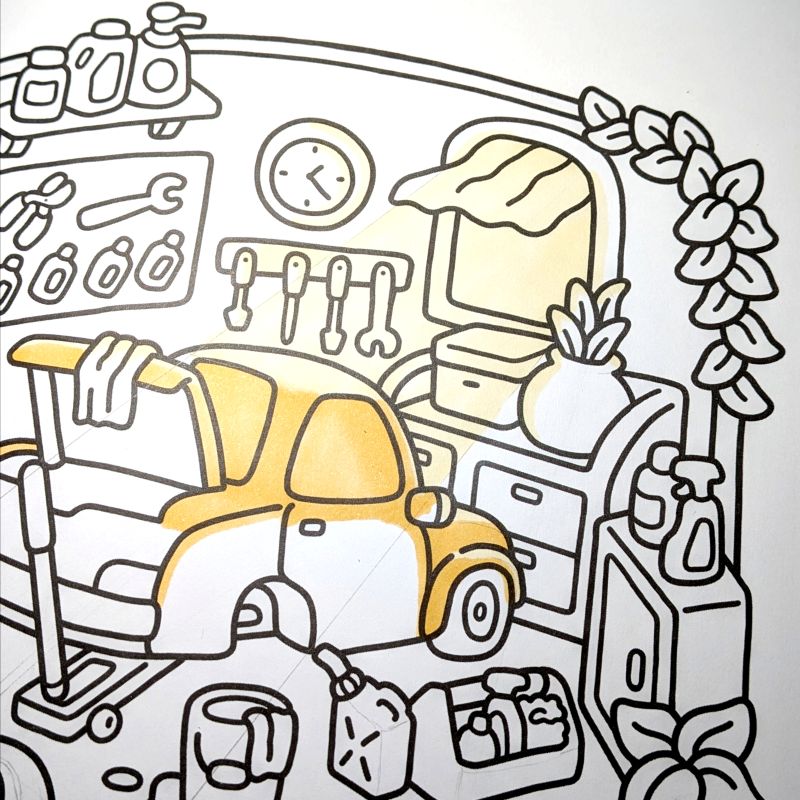
Using your mid and darker tones, blend the edges of the sunray into the rest of the page. Continue to colour the page until you have completed it with your alcohol markers. If you have light hitting the floor, consider colouring the floor and then layering a golden colour over the top to make it seem like the floor has some light on it. This also makes shadows pop.
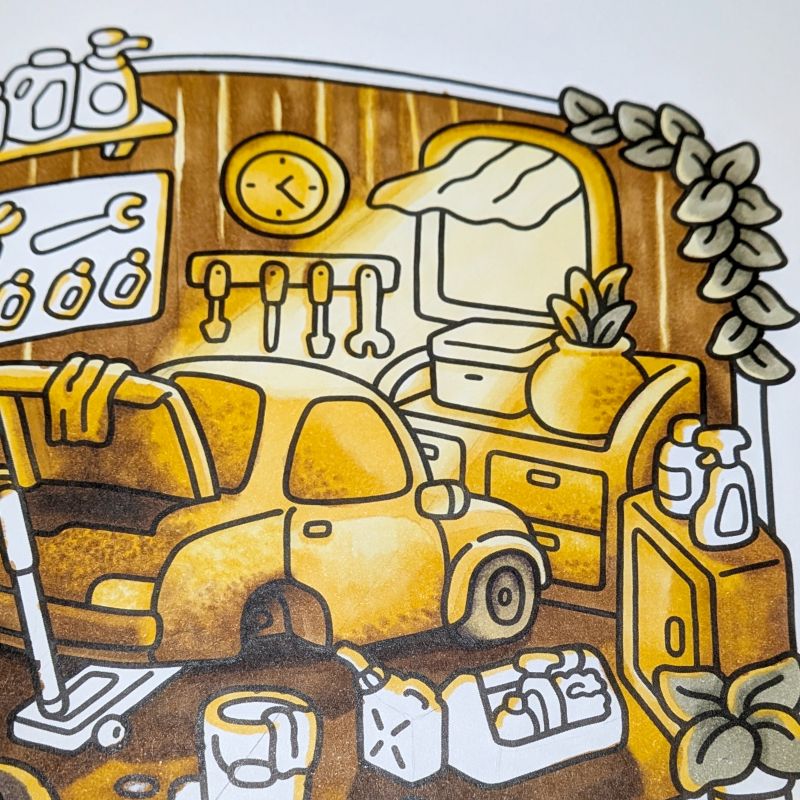
Now comes the tricky and nervewracking part. Using a light hand and long, single strokes with your acrylic marker (brush tip is best for this), add some highlighting sunbeams. Think about where the light might be blocked and the direction of the light when doing this. If the beams are a little too obvious, or you’d like them to be more diffuse towards the end, use your finger or other soft tool to smudge them futher along.
If you want to make the light beam even more glowy, add layers of coloured pencil around the edge of the sunray and beams to soften them.
Add small dots of acrylic marker to the air in the image to represent dust particles twinkling in the light.
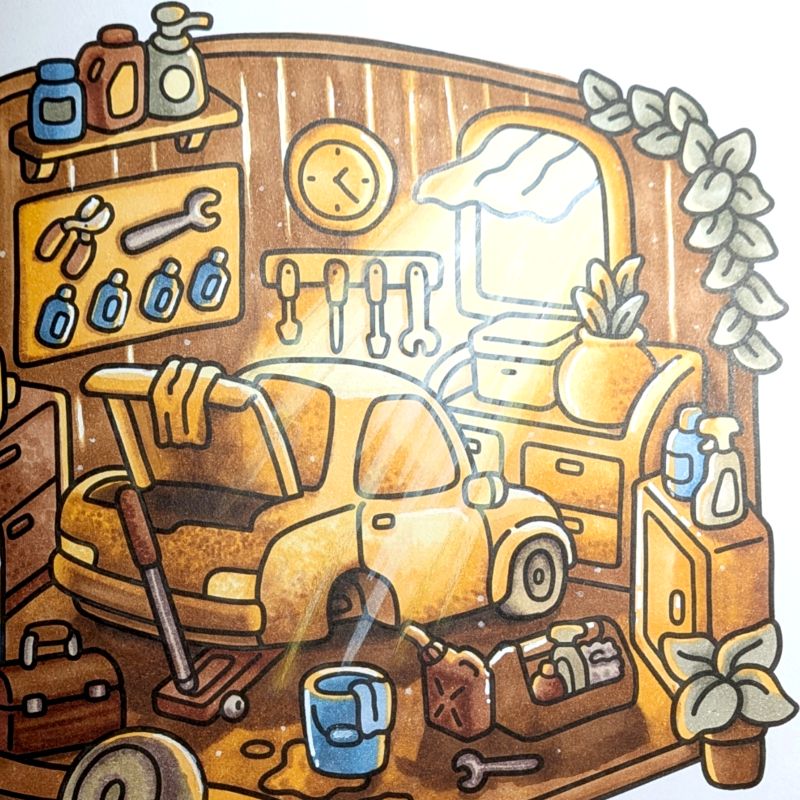
Almost done! Take a step back and look at your page. Do any touch ups that you think you might need, like softening harsh transitions, and adding more depth with shadows. Add further alcohol marker where you feel shadows could be darker. You can also add pencil to darken your shadows or add sharp detail to objects too. Highlights can be added with a white gel pen or acrylic marker. Tidy up any acrylic marker that you don’t want on your black lines with a black felt tip pen or acrylic marker (just not over objects that are being drowned in light).
And that’s it, a simple way to add gorgeous sunbeams and light to your pages!
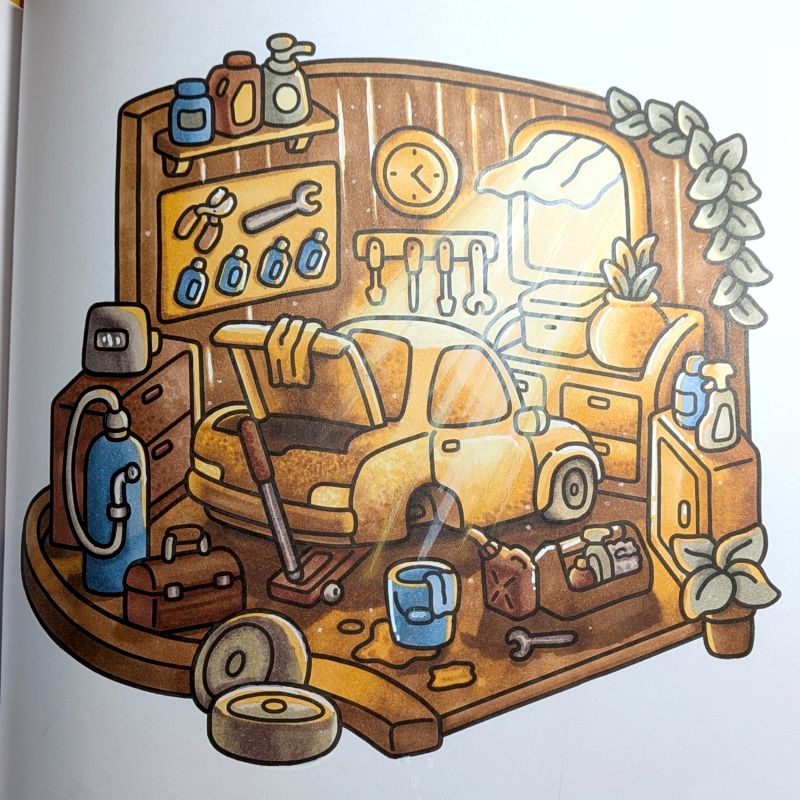
Sunrays don’t have to be perfect to look beautiful. With a little blending and careful placement of light and shadow, you can add drama and warmth to your colouring pages. The more you practise this technique, the more natural it will become.
Have you tried colouring sunrays before? I’d love to hear your favourite techniques in the comments!
I may get a small commission from purchases made after clicking links in this article. Have you ever looked at
I may earn a commission from any purchases you make after you follow links in this guide. A rainbow galaxy