My Colouring Process: From Blank Page to Finished Artwork
I may get a small commission from purchases made after clicking links in this article. Have you ever looked at
I may earn a commission from any purchases you make after you follow links in this guide.
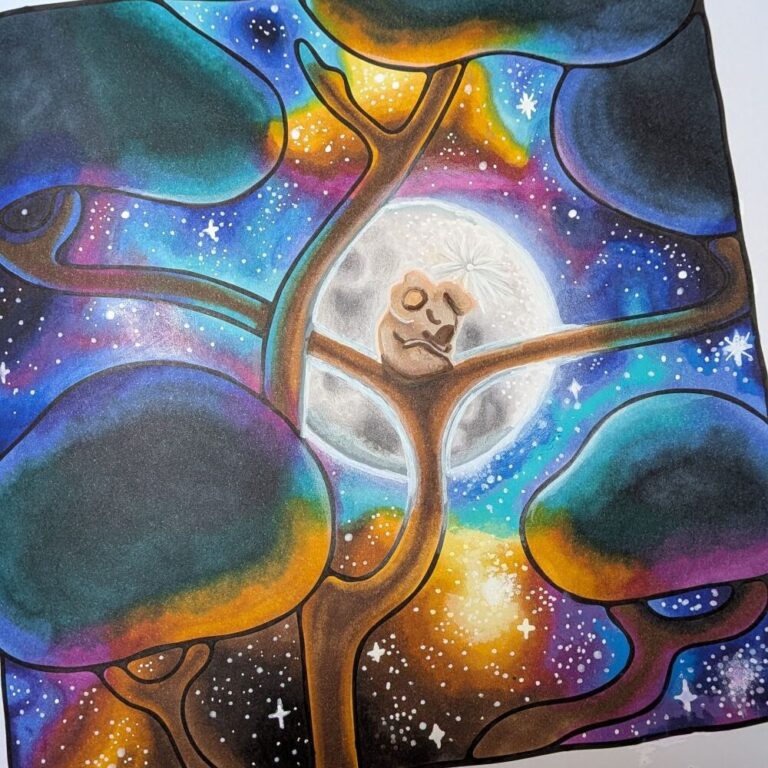
A rainbow galaxy sky is a fun way to add colour, contrast and a little bit of magic to your colouring pages. By blending bright shades together and layering in darker tones, you can create a dreamy sky effect that looks vibrant, smooth and full of depth.
In this tutorial, I’ll walk you through a simple step-by-step process for colouring a rainbow galaxy sky (which can be adapted for any colour palette) using alcohol markers, acrylic markers, pencils and white gel pens. You can follow the same method with your colour palette of choice for fantasy scenes, magical backgrounds, space-themed pages or any design that needs a bold and colourful sky.
Like with any new technique, I strongly recommend you practice first either on a page that you don’t care too much about, or blank marker paper. Try my method out, tweak to suit your colouring style and have fun!
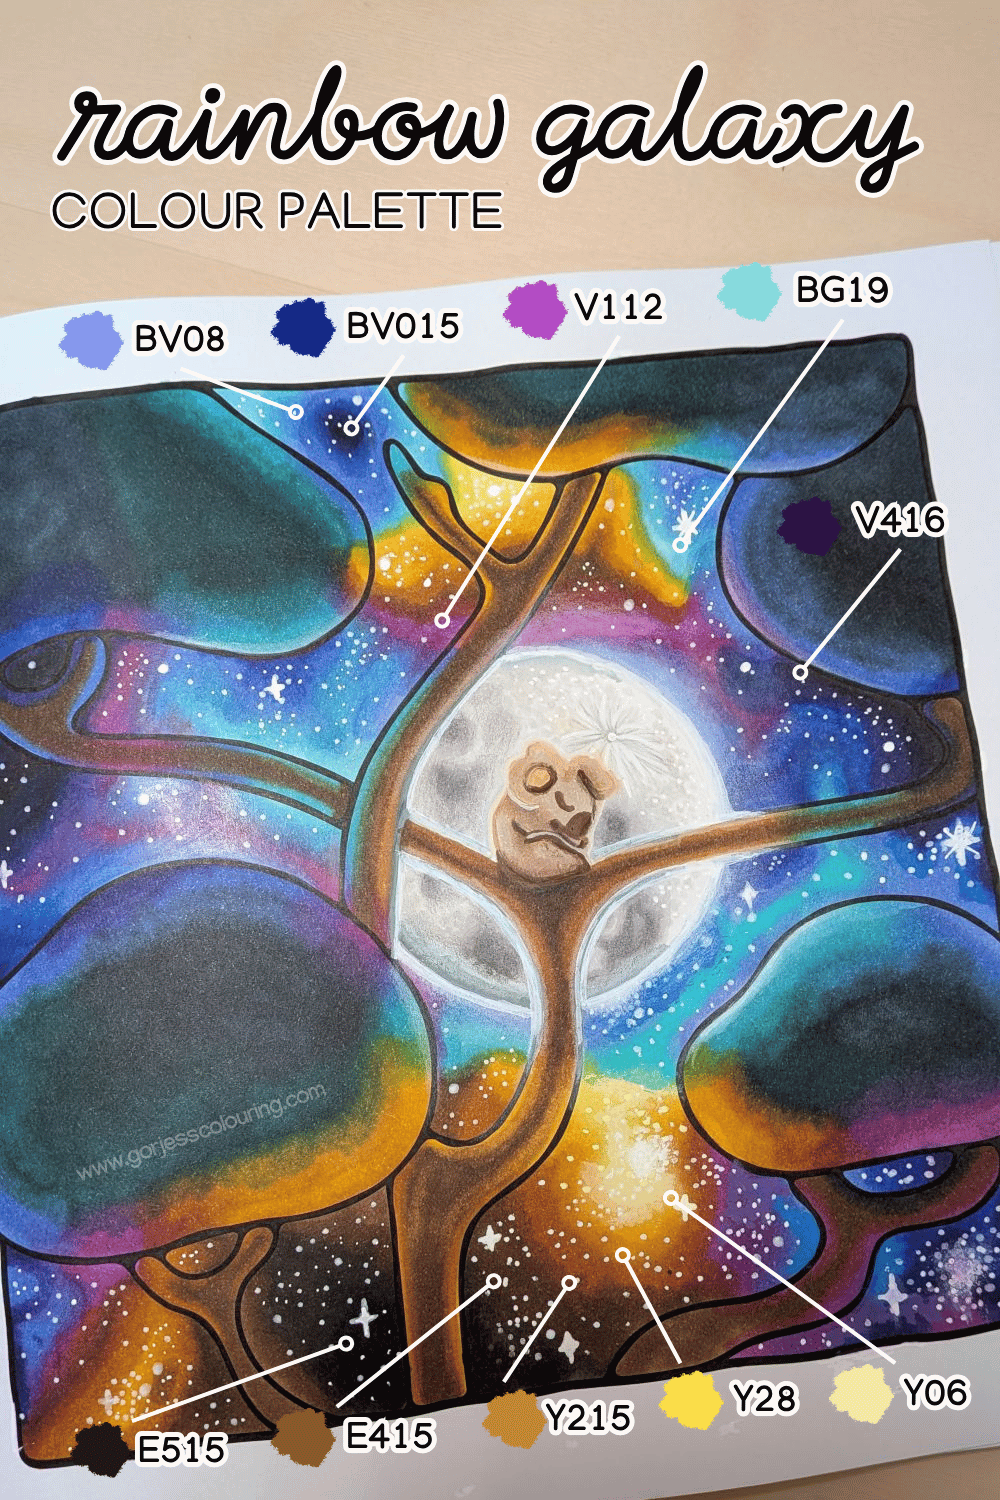
Pick the rainbow colours you would like to blend across your sky. I would recommend using at least 4 main colours and shades of those to help you blend. I used 10 shades (!), but a simpler palette could definately still make a lovely page. My mix of warm and cool colours:
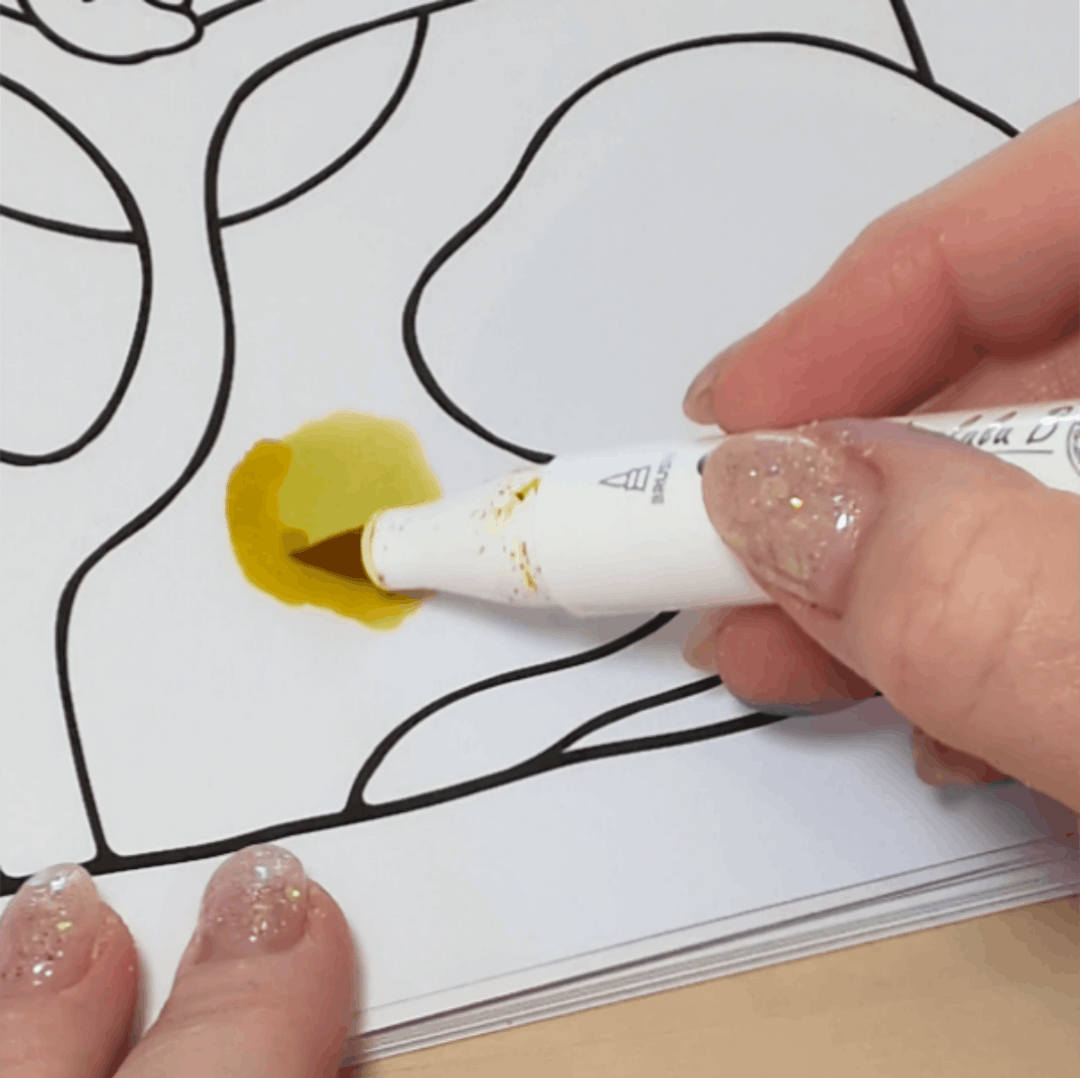
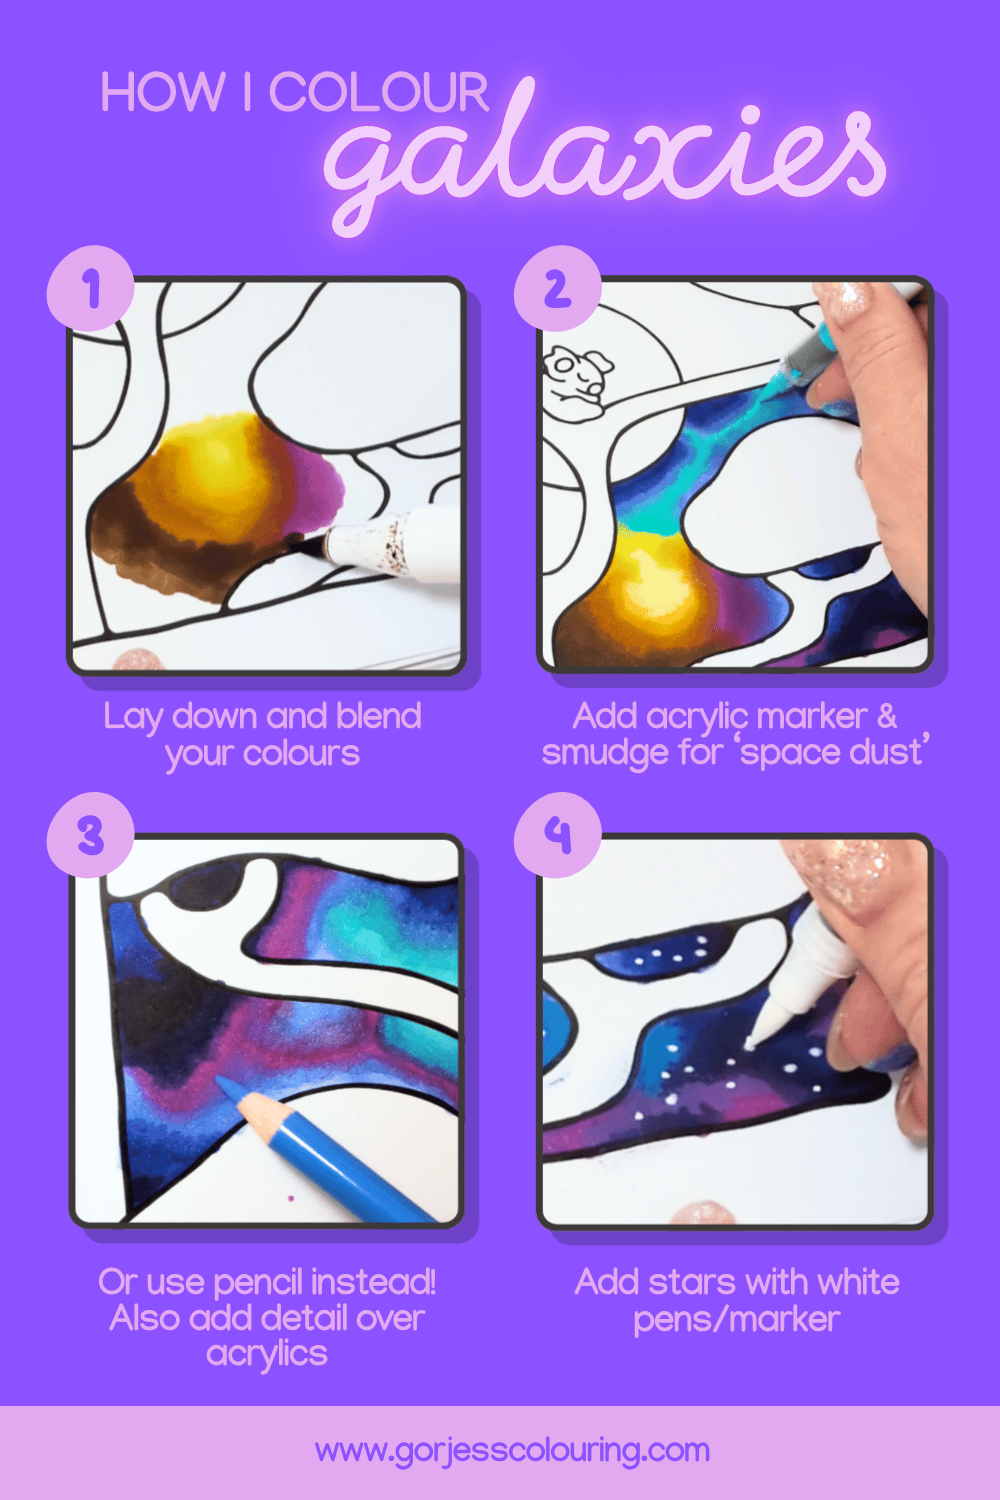
Before you start colouring, it’s a good idea to have a rough plan in your head on how you want the galaxy to look. Alternatively, you can also wing it and select colours from your palette as you go! Once you’ve got a plan (or not) start with a spot you want to make a bright focal area, laydown your first lightcolour in a rough circle or oval shape.
Alternating with darker shades and your other colour palette colours, lay them down and blend with each other where it makes sense to you and your plan for the galaxy. This is where I find a reference image is really useful to keep me on track. This is also the most meditative part, where you can just go with what feels good.
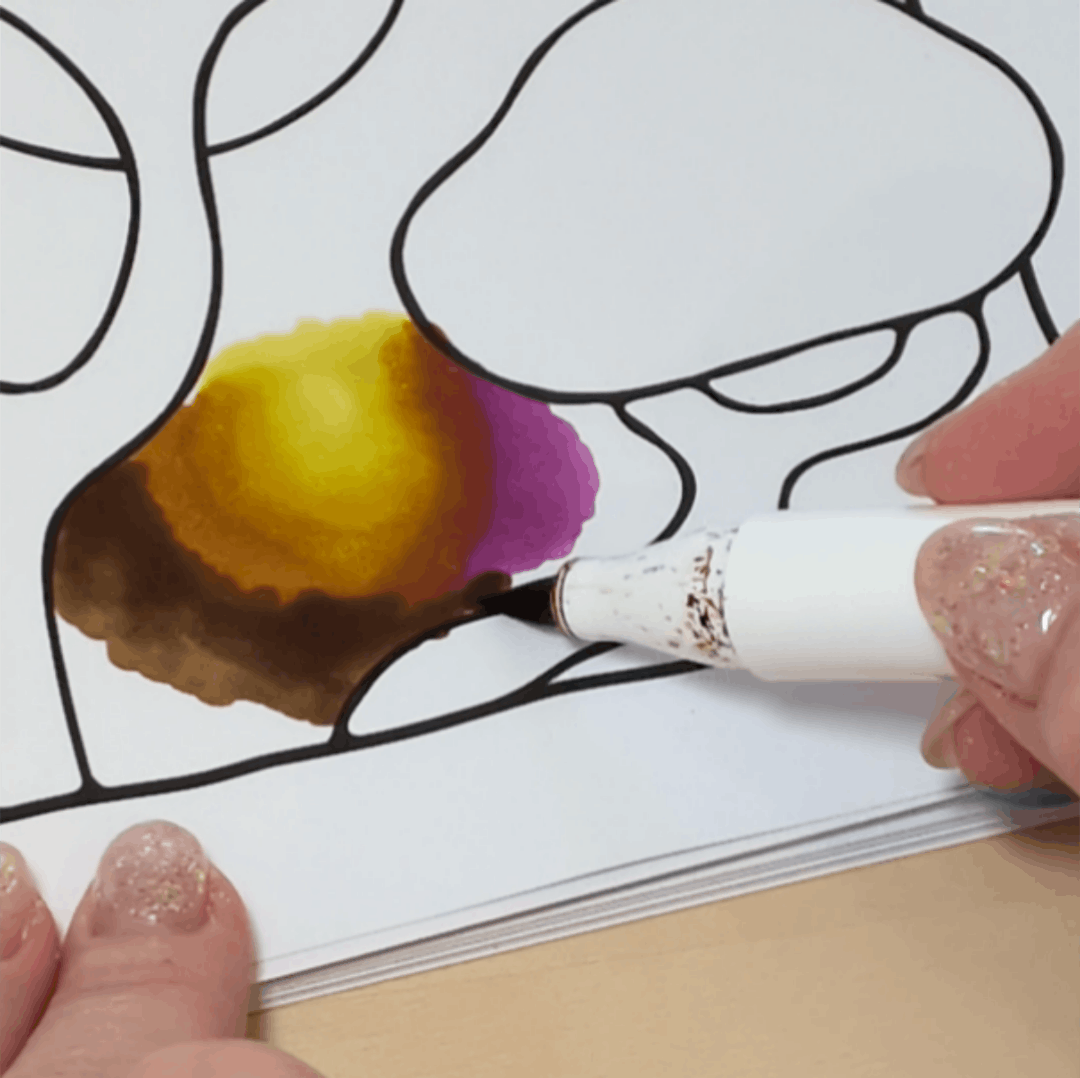
For this step, you can either use acrylic markers and/or pencil to add depth and more of a ‘space dust’ effect.
If you are using them, lay down spodges and lines of acrylic marker were you want to create a dusty area, then acting quickly while it is still wet, gently blend it out with your finger or a cotton tip. Repeat where you feel is necessary.
Pencils can be used after acrylics, or on their own without acrylics to create the same effect. Gently blend the edges where your markers are using similar colours (or the colours that have been created when blending them together). If you are using both, I recommend waiting until the acrylics have completely dried and using a light hand with the pencils to avoid smudging or removing the paint markers.
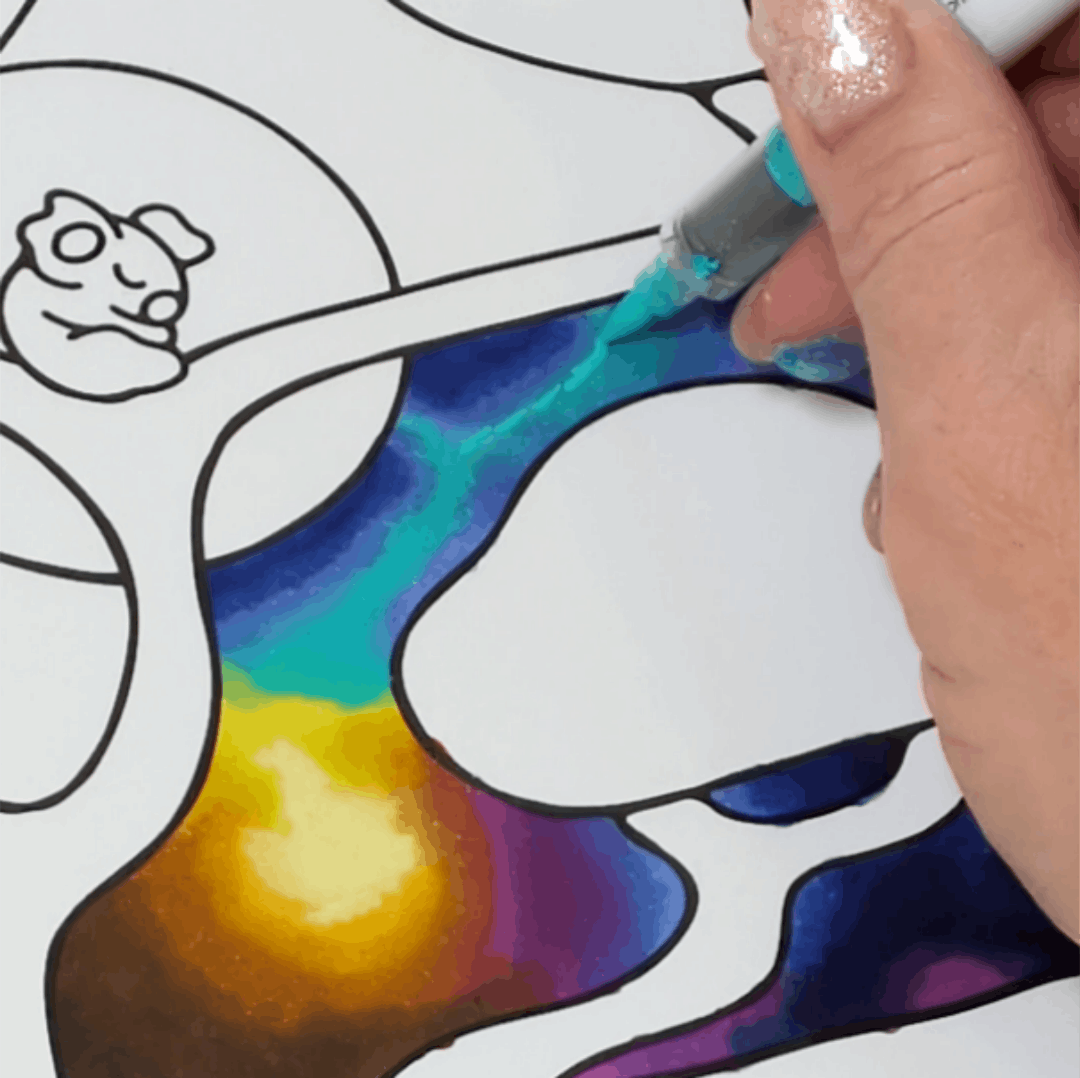

With a white or light coloured acrylic marker or gel pens, add dots of various sizes for stars. Star bursts can also be added. Do as many or as little as you like! You can also add star glow with white pencil too.
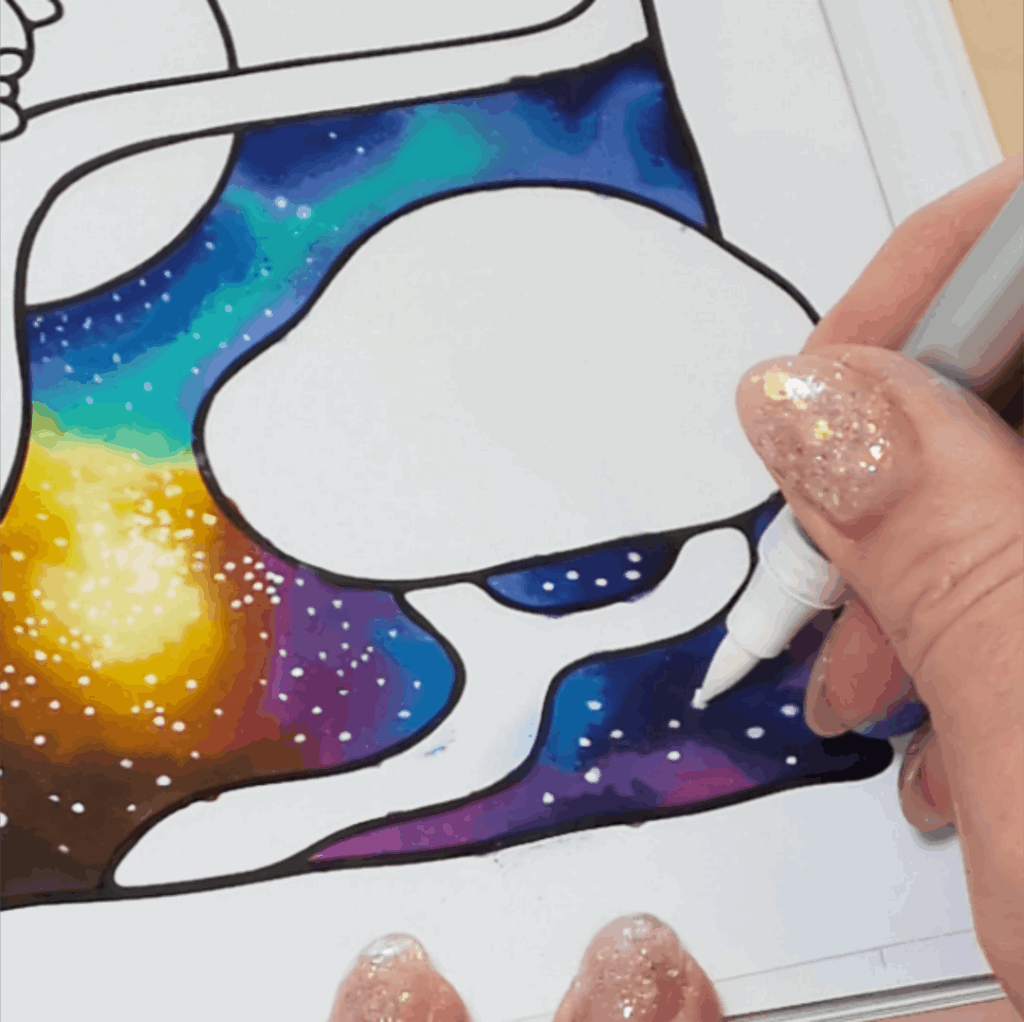
Almost done! Take a step back and look at your page. Do any touch ups that you think you might need, like softening harsh transitions, and adding more depth with shadows. More highlights can be added with a white gel pen or acrylic marker. Tidy up any acrylic marker that you don’t want on your black lines with a black felt tip pen or acrylic marker.
And that’s it, a relatively simple way to add showstopping skies to your pages.
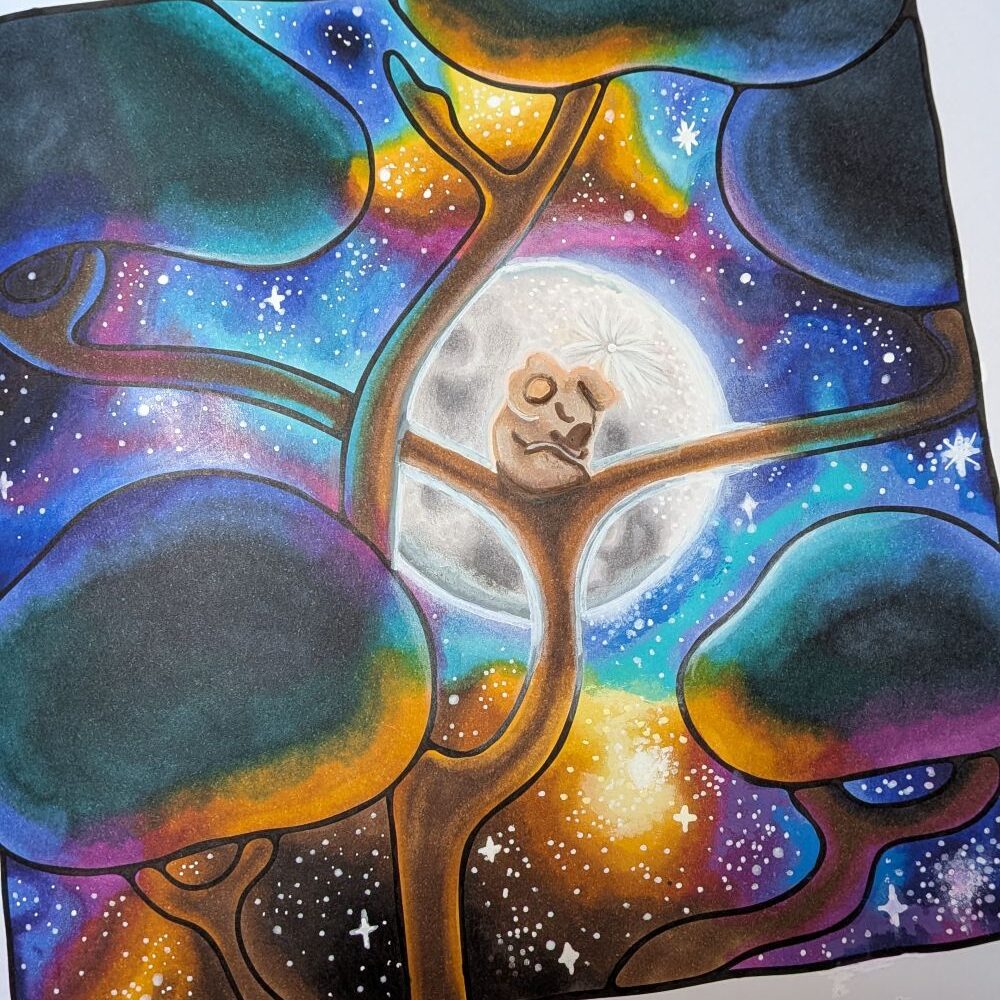
Rainbow galaxy skies are such a fun way to experiment with colour and blending. You can make them bold and bright, soft and dreamy, or deep and dramatic depending on the colours you choose. Once you get comfortable blending the base colours, you can play around with darker shadows, star details and glowing effects to make each sky feel unique.
If you try this technique, I’d love to see how your galaxy sky turns out!
I may get a small commission from purchases made after clicking links in this article. Have you ever looked at
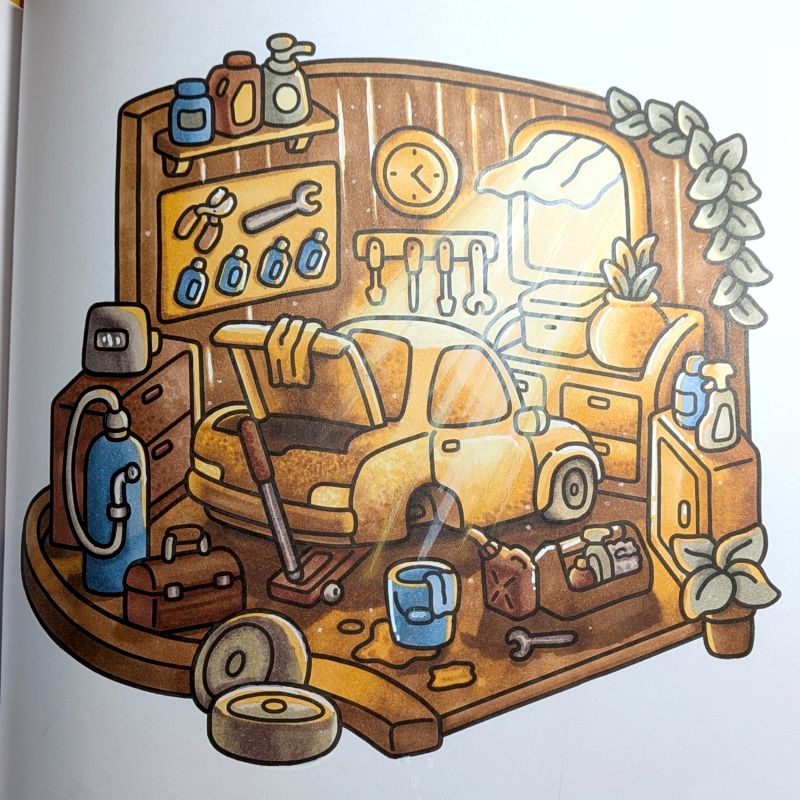
I may earn a commission from any purchases you make once you follow links in this guide. Sunrays can completely